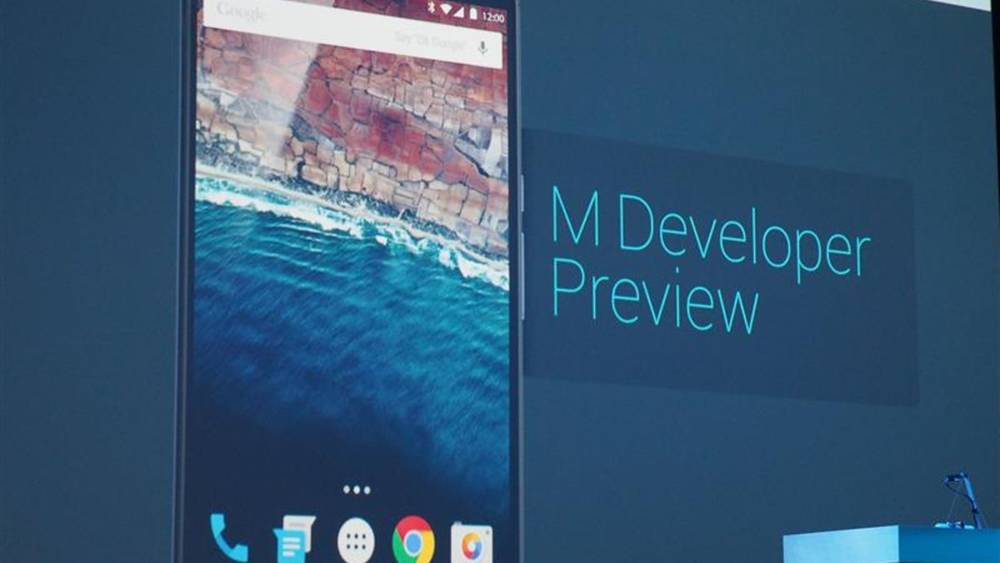
It has just been several hours since Google has released the official Android M Developer Preview (build MPZ44Q) but already has root access been obtained. The Android M Developer Preview allows you to try out the latest Android M version on your device before it starts rolling out officially in a couple of months. Keep in mind that Android M DP is currently in beta and users might experience speed or battery issues. New features include support for finger print scanning, Android Pay, Doze, Google now on Tap and many more.
What are the benefits of rooting Android M MPZ44Q? Access all files of your mobile: You can safely edit, delete and change any Android OS file without having permission issues. Better Mobile performance Ability to install Custom ROMS: Once your device is rooted, you can install custom ROM’s like Cyanogenmod, OxygenOS and more keep in mind that these will have to be compatible with Android and Use Root required apps.
The guide bellow will show you How to root Android M Developer Preview Build MPZ44Q on the Nexus 5, Nexus 6, Nexus 9 and How to install a Custom Recovery Android M. In this case we will show how to install CWM (ClockWork Mod version 6.0.4.5) and TWRP (Version 2.8.5.0)
Tips and Tricks Before Rooting Android M MPZ44Q

Before starting to root, Install Custom ROM or modify Android in any way we always highly recommend you create a full system backup. There are several methods to Create a Backup in Android M. Bellow we will go step by step on how to successfully create a backup and restore it in case something goes wrong while Rooting Android M Developer Preview.
- Method 1: In Android M Google will now automatically backup apps to Google Drive those that support it. Which means that any recently installed Android M compatible app will automatically be backed up to the cloud
- Method 2: Creating a Nandroid Backup. We have already covered this in an in-depth guide on how to create a Nandroid backup
You should also have Developer Mode enabled on Android M. Developer Mode will allow you to enable USB Debugging (which is required in this tutorial), make small changes like speeding up animations, change the default Light Theme, change CPU usage and more. Here is how to enable Android M Developer Mode:
- Navigate to Settings > Find your Build Number > Tap it 7 times until a popup appears.
Once confirmed. It will show a new options in your Settings app called “Developer Options”. From here, make sure to enable USB Debugging. The Bellow guide will show you step by step how to root Android M Developer Preview on the Nexus 6, Nexus 6 and how to install a custom recovery.
Nexus 6 & Nexus 5 Root Android M Developer Preview MPZ44Q
Step 1 – Download the Android SDK and install it. Make sure to enable the downloading platform-tools and USB drivers package
Step 2 – Enable USB debugging (explained in the Tips and Tricks section of this post)
Step 3 – Download Fastboot for Mac / Windows / Linux extract it in android-sdk-windows platform-tools directory
Step 4 – Download the latest version of SuperSU ( SuperSU v2.46 )on your PC
Step 5 – Connect your Nexus 6 or Nexus 5 to your PC
Step 6 – Move the SuperSU.zip file to your device’s internal storage
Step 7 – Turn your device Off.
Step 8 – Download CWM 6.0.4.5 for Nexus 5 Or TWRP 2.8.5.0 for Nexus 6 save it in the android-sdk-windows platform-tools directory on your PC
Step 9 – Boot and Enter Bootloader mode on your Nexus 5 or Nexus 6
Step 10 – On your PC, open the command prompt and run the following commands:
fastboot flash recovery openrecovery-twrp-2.8.5.0-shamu.img (if you have a Nexus 6)
fastboot flash recovery recovery –clockwork-touch-6.0.4.5-hammerhead.img (If you have a Nexus 5)
Step 11 – Choose RECOVERY from the Fastboot menu and enter recovery mode
Step 12 – select flash zip from sdcard>> choose zip from sdcard, then navigate to the UPDATE-SuperSU-v2.46.zip
Step 13 – Reboot your Nexus 5 or Nexus 6. You have now successfully root Android M Developer Preview build MPZ44Q
Nexus 9 Root Android M Developer Preview MPZ44Q
The bellow guide is specially designed for those who wish to Root Android M Developer Preview on their Nexus 9. There are fewer steps then in the Nexus 5 and Nexus 6 guide, make sure to read every step carefully and not skip any or this could cause problems:
Step 1 – Download the latest version of CF-AUTO-ROOT on your PC
Step 2 – Enable USB debugging (explained in the Tips and Tricks section of this post) and Enable OEM Unlock
Step 3 – Enter Bootloader mode ( by pressing Shift + Right click in the tools folder. )
Step 4 – Connect your Nexus 9 to your PC
Step 5 – Open the Windows Command Prompt and run the following commands:
adb reboot booatloader
Step 6 – Execute the root-Windows.bat file

