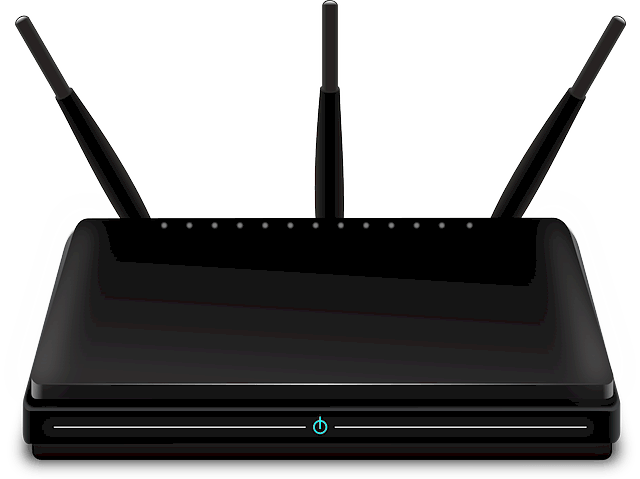
You can avoid the costly fee of having a technician come out by installing your modem yourself. It may be easier than you think. You also do not need to rent or buy one of CenturyLink’s own modems because there are other and less costly brands out there that will work just as efficiently. BlueGadgetTooth recommends these modems for CenturyLink DSL:
- Netgear Nighthawk AC1900 VDSL/ADSL Broadband DSL Modem
- Netgear AC1600 Wireless-AC VDSL/ADSL Modem and Router
- Actiontec GT784WN
- Netgear N600
- CenturyLink C2100T
There are many other modems out there that will also work with CenturyLink as your ISP, but make sure before buying that it is compatible. After your modem is purchased, it is time to set it up.
- Make sure you have all of the equipment that you need. This will include a CenturyLink-compatible modem with a built-in router, an Ethernet cable, a telephone cord, and a DSL filter. It is easiest to set-up your modem using a computer, either a laptop or desktop. Turn on your computer to start.
- Begin with the DSL filters. DSL filters are what keeps your phone line separate from your data line. The DSL filter will connect to the phone jack directly, which will give you the fastest download speed possible.
- Plug in your modem. You should put your modem in an area where it is not going to get overheated. Put the power cord in the AC slot in your modem and make sure it is plugged into a power outlet. Most of the modems will automatically turn on, but yours may have a power button. It may take a few moments to warm up, but the power light should let you know when it’s ready.
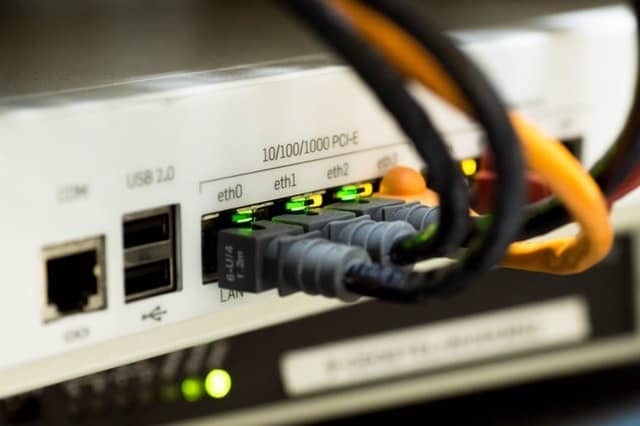
- Plug in the telephone cord. On the back of your modem, you should have a port that is labeled LINE or possibly DSL. You will plug one end of the telephone cord into that spot and the other will go into the phone jack. You do not need a DSL filter with this phone line because it is already built into it. Make sure you hear the “click” that confirms it’s plugged in.
- Plug in the Ethernet cable. There is a yellow port on the back of your modem. The Ethernet cord should plug in there, with the other plugging into the port on your computer. You will know you have it right if the Ethernet lights light-up on your modem. All of the lights should be on now.
- Activate your service. On your computer, open up a web browser. This should take you to the CenturyLink welcome screen. From here, follow the steps in their tutorial to finish activating your service through them. If done correctly, it should go quickly. Your login information should have been provided to you when you initially signed up for service, most likely in a confirmation email. If you are having trouble, call CenturyLink directly at 877-348-9005.


