The iPad, first introduced in 2010 by Apple, revolutionized the tablet market and paved the way for a new category of devices. Designed to bridge the gap between smartphones and laptops, the iPad combines portability, versatility, and ease of use. Over the years, Apple has released multiple generations of iPads, each improving on hardware, software, and design. Learn how to take a screenshot on iPad in this guide.
1. How to Take a Screenshot On iPad
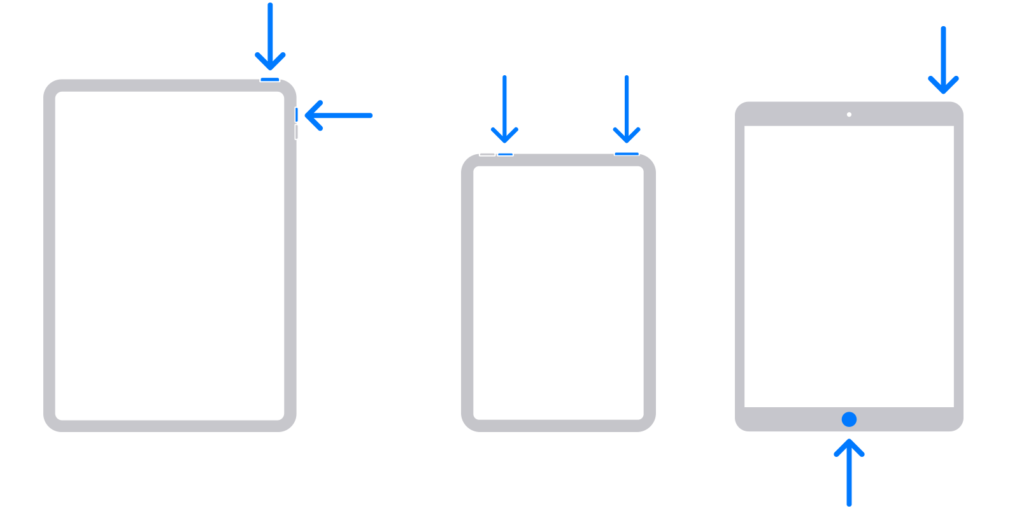
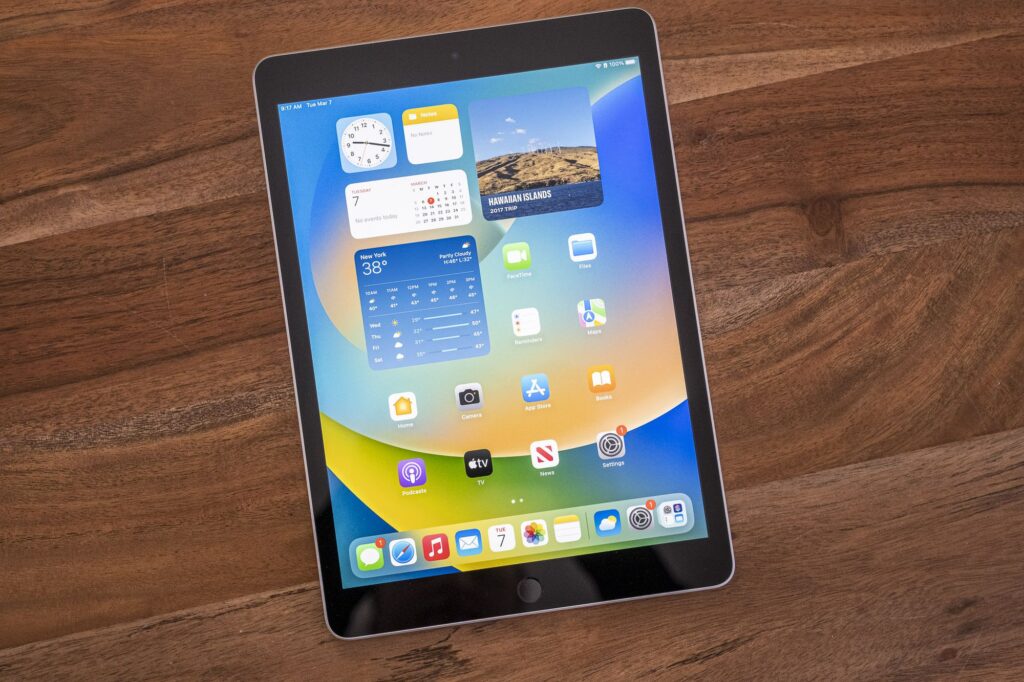
If you own an older iPad that features a physical Home button, here’s how to take a screenshot:
- Press the Top (or Side) Button and the Home Button simultaneously.
- Quickly release both buttons after pressing.
- You’ll notice a quick flash, and the screenshot will appear as a thumbnail in the lower-left corner of the screen.
- You can tap on the thumbnail to edit the screenshot or swipe it away to save it automatically in the Photos app.
2. For iPads Without a Home Button (Newer Models, such as iPad Pro)
Newer iPads, such as the iPad Pro, no longer have the traditional Home button. If your iPad falls into this category, here’s how to capture a screenshot:
- Press the Top Button and the Volume Up Button at the same time.
- Quickly release both buttons.
- As before, your screen will flash, and a thumbnail of the screenshot will appear in the bottom-left corner for quick access to editing or sharing.
3. Taking Screenshots Using AssistiveTouch
If you find pressing the buttons tricky, or if your iPad’s physical buttons aren’t working properly, you can use AssistiveTouch:
- Enable AssistiveTouch: Go to Settings > Accessibility > Touch > AssistiveTouch, then toggle it on.
- You’ll see a floating on-screen button. Tap on it, and navigate through the following options:
- Device > More > Screenshot.
- This will instantly capture a screenshot, and the image will be saved to your Photos app, just like the previous methods.
History of the iPad: How It Has Evolved Through the Generations
The iPad, first introduced in 2010 by Apple, revolutionized the tablet market and paved the way for a new category of devices. Designed to bridge the gap between smartphones and laptops, the iPad combined portability, versatility, and ease of use. Over the years, Apple has released multiple generations of iPads, each improving on hardware, software, and design.
1. The First iPad (2010)
Apple introduced the iPad in January 2010. It featured a 9.7-inch display and ran on iOS (later rebranded as iPadOS). With access to the App Store and the iTunes ecosystem, the iPad allowed users to browse the web, watch videos, play games, and more. The original iPad had a single-core A4 processor and came with up to 64 GB of storage. Despite not having a camera, it was a major success, selling over 300,000 units on its first day of release.
2. iPad 2 (2011)
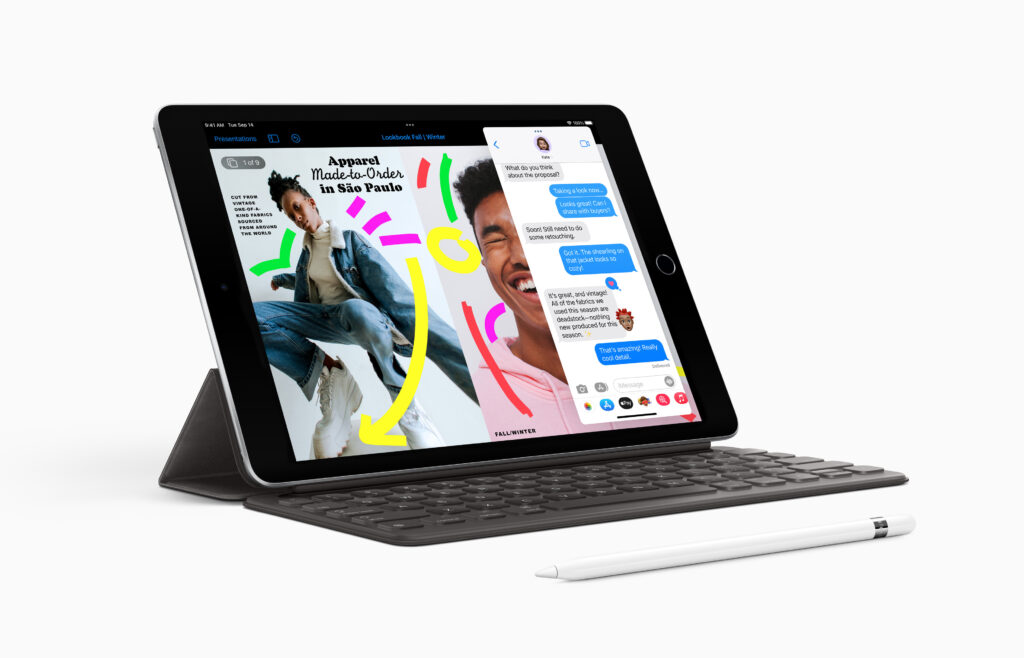
The iPad 2 brought substantial upgrades, including a thinner design, a faster A5 processor, and front and rear cameras. This generation marked the beginning of FaceTime on the iPad and introduced a lighter and sleeker design. It also debuted the Smart Cover, which provided protection while doubling as a stand.
3. The Retina Display Era (iPad 3, 2012)
With the iPad 3, Apple introduced the Retina Display, dramatically improving the screen resolution to 2048×1536 pixels. This upgrade made content sharper and more vibrant, setting a new standard for tablet displays. It also introduced LTE connectivity, making it easier to use the iPad on the go.
4. iPad Mini (2012)
Later in 2012, Apple unveiled the iPad Mini, which featured a smaller 7.9-inch display. The iPad Mini catered to users who wanted a more portable tablet option while still enjoying the iOS experience.
5. iPad Air (2013)
The iPad Air introduced a thinner and lighter design, along with the powerful A7 chip. It retained the 9.7-inch display but was 20% thinner and weighed just one pound, making it significantly more portable. This generation solidified the iPad’s place as both a productivity and entertainment device.
6. iPad Pro (2015)
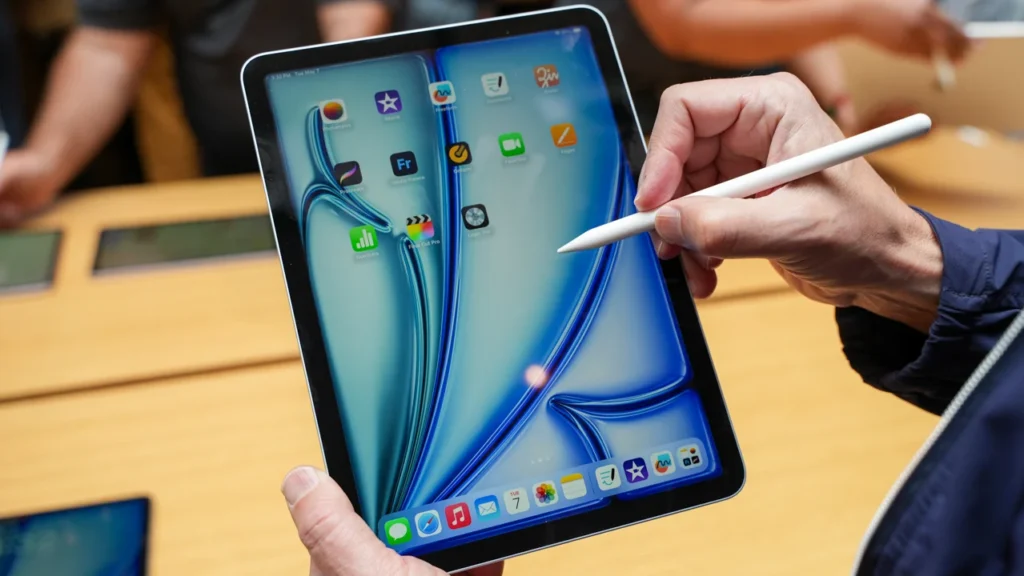
Apple took the iPad to the next level with the introduction of the iPad Pro. Available in 11-inch and 12.9-inch sizes, the iPad Pro was designed for professional use with features like the A9X chip, a 120Hz display, and Apple Pencil support. The Smart Keyboard further positioned the iPad Pro as a viable laptop alternative for professionals.
7. iPad Pro (2021) and M1 Chip
The latest iPads in 2021 featured the groundbreaking M1 chip, the same processor found in Apple’s MacBooks. This gave the iPad Pro unprecedented power, allowing for desktop-level performance in a tablet form factor. The Liquid Retina XDR display on the 12.9-inch model also brought superior brightness and contrast to the device.
Why iPad Screenshots Are Useful
With iPads becoming more versatile and powerful, knowing how to take screenshots on iPads has become increasingly important. Here are a few reasons why screenshots are helpful:
- Sharing Information: Screenshots allow you to quickly share an image, webpage, or conversation without needing to download or send files.
- Problem Reporting: If you encounter an error or problem on your iPad, taking a screenshot is an easy way to share the issue with tech support or a friend.
- Documenting Conversations: Whether you’re in a meeting or a class, screenshots are an excellent way to document important notes or visuals.
- Design Work: Graphic designers or those working with visual media often use screenshots to capture work in progress, references, or design elements.
- Social Media: Want to capture a funny post or story? A screenshot is the quickest way to save it for future reference or share it with friends.
The Importance of iPad Generations for Screenshot Features
The process of taking screenshots has remained relatively consistent across iPad generations, but knowing your specific model is still helpful because certain features—like AssistiveTouch or multitasking shortcuts—may vary depending on the hardware and software.
For instance, older iPads with Home buttons will rely on that button for capturing screenshots, while the latest iPad Pro models use Face ID and other gestures. Being aware of these differences ensures you’re using the most efficient method for your device.
Final Thoughts on Taking Screenshots on iPad
Now that you understand how to take a screenshot on iPad, you can easily capture anything on your screen in just a few steps, regardless of which generation of iPad you own. Whether you’re using the Home button on older models, the Volume button on newer models, or AssistiveTouch for convenience, the process is simple and intuitive.
With the iPad’s rich history of innovation and its ever-expanding capabilities, taking screenshots is just one of many features that make Apple’s tablet a versatile tool for both personal and professional use. Keep this guide handy, and the next time you need to capture a moment, you’ll know exactly how to do it!


