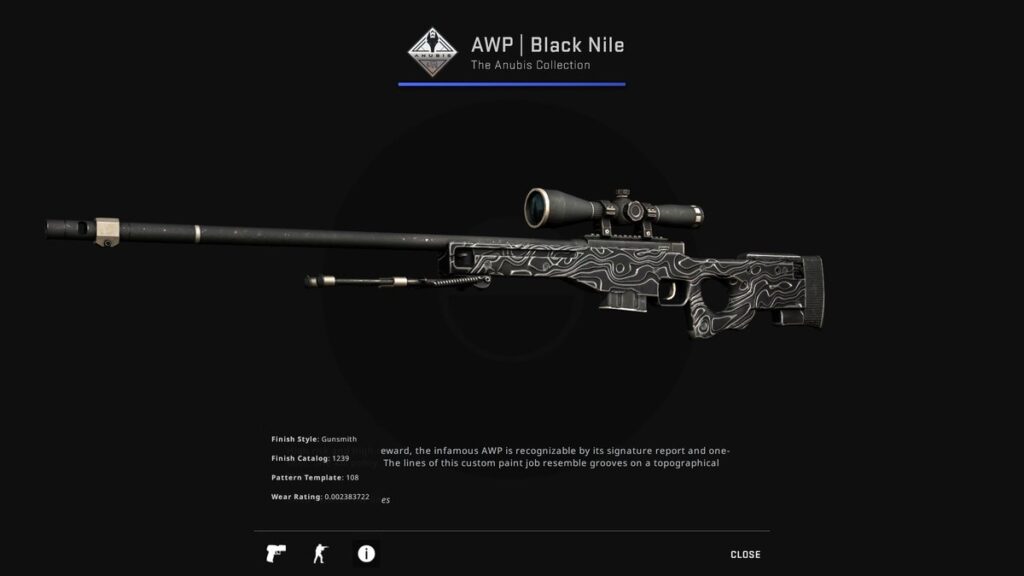
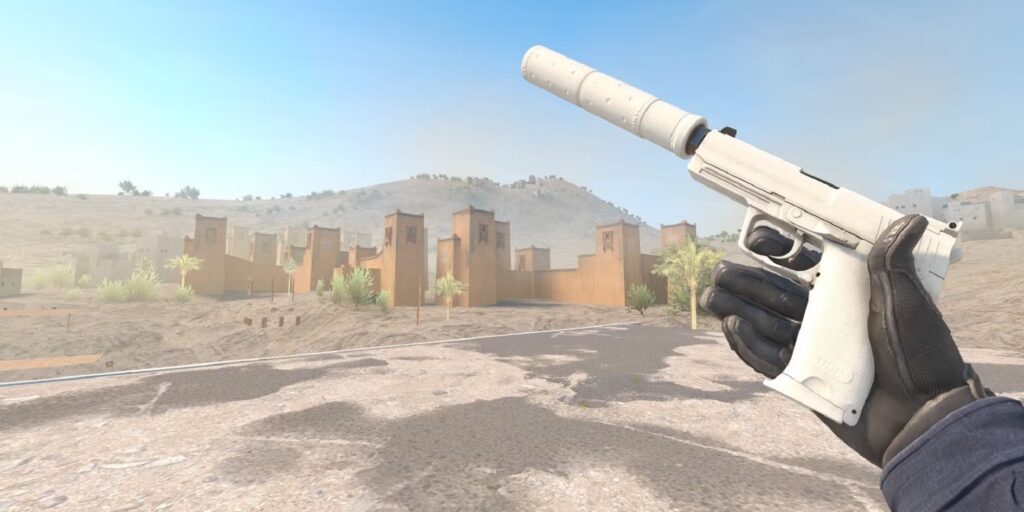
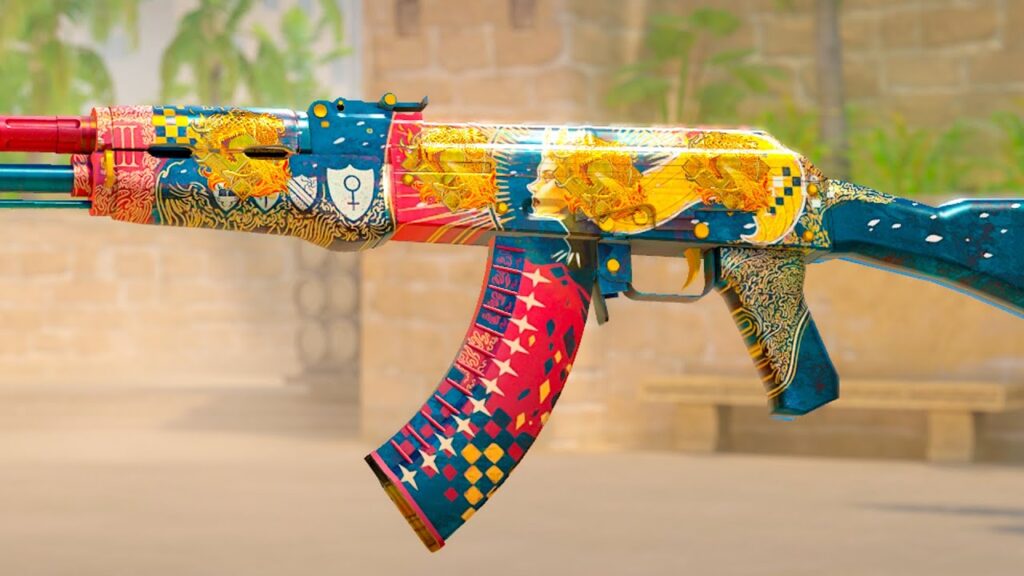
Creating a CS2 Workshop Skin can be an exciting way to customize the game and even make money if your design gets accepted into the official marketplace. Whether you’re a seasoned designer or just getting started, this guide will take you through the process of designing, applying, and submitting a custom CS2 Workshop Skin for Counter-Strike 2.
What You Need to Get Started
Before diving in, ensure you have the right tools and software:
- Adobe Photoshop or GIMP – Used for skin design.
- VTFEdit – Converts your textures into Valve Texture Format (VTF).
- Blender or Substance Painter – Helpful for realistic texturing and 3D visualization.
- Steam & CS2 Installed – Required to test and upload skins.
- CS2 Workshop Tools – Accessible through the CS2 developer console.
Step 1: Choosing a Weapon & Downloading the Template
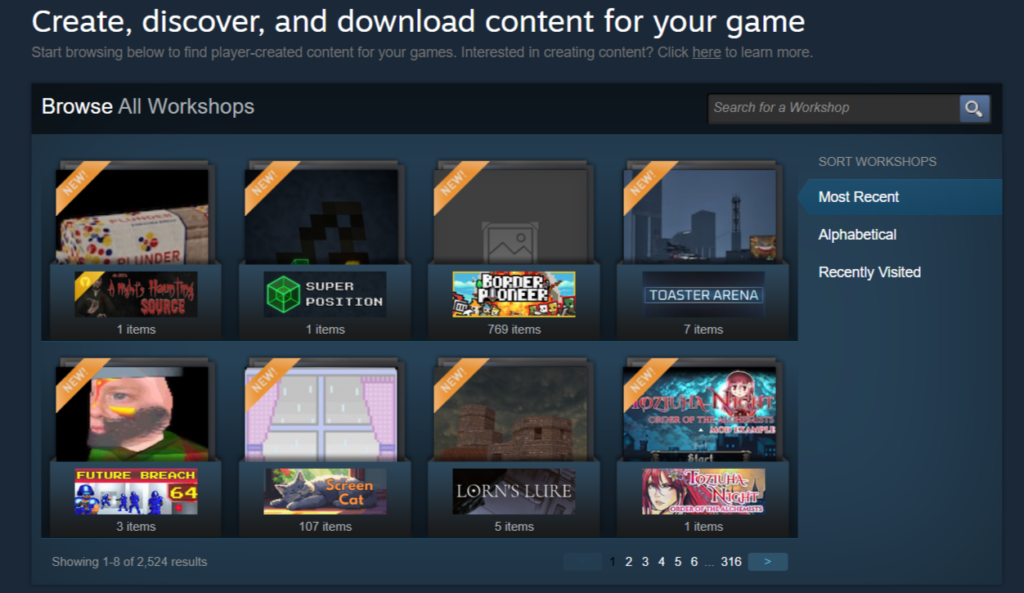
- Open Steam Workshop and browse CS2 Workshop Skins for inspiration.
- Choose the weapon you want to skin.
- Download the official CS2 skin template for your selected weapon from the CS2 Workshop or community forums.
Step 2: Designing Your Skin
1. Open the Weapon Template
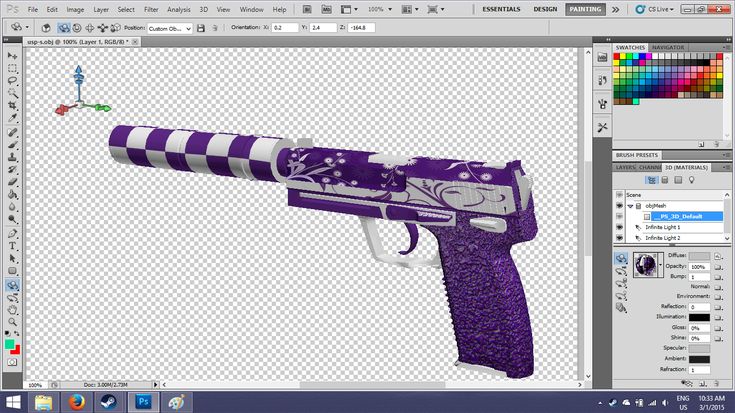
- Open the downloaded CS2 skin template in Photoshop, GIMP, or Substance Painter.
- The template consists of different layers representing parts of the weapon (barrel, grip, body, etc.).
2. Create Your Custom Design
- Hand-Drawn Artwork: Use a drawing tablet for detailed designs.
- Textures & Patterns: Overlay high-resolution textures to create realistic effects.
- Stickers & Logos: Add logos or personal branding for a unique touch.
3. Save Your Design
- Export the file in TGA or PNG format with transparent layers.
Step 3: Converting the Skin to CS2 Format
- Open VTFEdit and import your TGA/PNG file.
- Save the skin as a VTF file to ensure compatibility with CS2.
- Place the VTF file in your CS2 materials folder.
Step 4: Applying Your Skin in CS2
- Launch Counter-Strike 2.
- Open the Developer Console (
~key). - Enter the command:
- Select your weapon and apply the VTF texture.
- Adjust parameters like:
- Wear & Tear
- Shine/Reflection
- Color Tint
Step 5: Testing & Refining Your Skin
- Open a private game in CS2.
- Equip the weapon and check for:
- Texture alignment issues
- Unwanted distortion
- Color mismatches
- If needed, go back to Photoshop/GIMP, adjust the texture, and reapply.
Step 6: Submitting to the CS2 Workshop
1. Upload to Steam Workshop
- Open CS2’s Workshop Upload Tool.
- Select your VTF file & texture settings.
- Add a title, description, and tags.
- Upload a showcase image (a high-quality screenshot of your skin in-game).
- Click Submit.
2. Promoting Your Skin
- Share your skin on Reddit, Twitter, and CS2 forums.
- Ask for votes and feedback on Steam Workshop.
- Consider working with CS2 skin trading communities.
Step 7: Monetizing Your Skin
If Valve selects your CS2 Workshop Skin, you could earn a percentage of every in-game purchase. Here’s how skins get added:
- Valve hand-picks skins for official CS2 cases.
- If your skin is selected, it enters the CS2 marketplace and earns revenue from sales.
- You receive a cut of transactions whenever players buy your skin.
Common Mistakes & How to Avoid Them
Low-Quality Textures – Use high-resolution images to prevent blurry skins.
Incorrect File Format – Ensure your files are saved as VTF.
Copyrighted Images – Do not use branded logos or copyrighted artwork unless you have permission.
Ignoring Feedback – Always test and refine your skin based on community input.
What is the CS2 Workshop?
The CS2 Workshop is Valve’s official platform that allows players to create, upload, and share custom content such as weapon skins, maps, and stickers. It serves as a bridge between the gaming community and the developers, offering talented designers the chance to have their work featured in Counter-Strike 2 (CS2). Since Valve regularly selects community-created skins for official weapon cases, the Workshop has become a breeding ground for both aspiring and experienced artists hoping to leave their mark on the game.
The CS2 Workshop operates through Steam’s Workshop system, where users can submit their skins and receive feedback from the community. If a skin gains significant traction and Valve deems it worthy, it may be added to the game, allowing its creator to earn a share of its sales revenue. This process has led to the rise of full-time CS2 skin designers, some of whom have made tens of thousands—if not millions—of dollars from skins that made it into the game.
However, competition is fierce. Thousands of new skins are uploaded every year, and only a handful are chosen for inclusion in CS2 cases. The Workshop’s voting system allows players to support their favorite designs, but in the end, Valve has the final say on which skins make it into the game. Because of this, creators must not only have exceptional design skills but also an understanding of what appeals to the CS2 community and fits the game’s aesthetic.
The CS2 Workshop isn’t just for skins—it also allows map creators to design custom levels for both competitive and casual play. Many of the game’s most iconic maps, such as Cache, began as community creations before becoming officially recognized in Counter-Strike. While maps take significantly longer to develop than skins, they offer a unique way for level designers and environment artists to contribute to the game.
How Difficult is it to Learn?
Creating a CS2 Workshop skin is both an artistic and technical challenge, requiring knowledge of graphic design, texturing, and 3D modeling. If you’re new to skin creation, the learning curve can be steep, especially when it comes to UV mapping, shading, and rendering your textures correctly on weapon models.
At the most basic level, skins are 2D textures that wrap around 3D weapon models. However, simply applying a static image to a gun won’t cut it. Successful skins require intricate detailing, well-balanced color schemes, and seamless texture wrapping to avoid distortion when viewed in-game.
Here are the key skills and tools required to create high-quality CS2 skins:
- Adobe Photoshop / GIMP – Used for painting and texturing skins.
- Blender / Substance Painter – Helps preview how textures wrap around a 3D model.
- Valve’s Workbench Tool – A built-in CS2 tool for testing and applying skins before submitting them to the Workshop.
- UV Mapping – A technique used to apply a 2D texture onto a 3D model without distortion.
- Understanding of Wear Levels – CS2 skins degrade over time, so designs must look good at different wear states (Factory New, Minimal Wear, Battle-Scarred, etc.).
The hardest part of learning to create CS2 Workshop skins is mastering UV mapping and making sure your design wraps seamlessly around the weapon model without obvious seams or distortions. Unlike traditional digital art, skin designers must work within the limitations of the game’s texture maps, ensuring that every element aligns correctly when applied in-game.
That said, newcomers can start small by creating basic color schemes, patterns, or logo-based designs before moving on to more intricate hand-painted or photorealistic skins. With dozens of online tutorials and dedicated community forums, it’s easier than ever to find resources and improve your skills. Many designers who started with simple recolors eventually evolved into full-time creators, earning significant money through official skin case releases.
The Addictive Nature of Skin Creation
Once you dive into CS2 Workshop skin design, it’s easy to become obsessed. The thrill of seeing your designs come to life in the game, combined with the competitive nature of the Workshop, makes skin creation incredibly engaging—and, for some, addictive.
Several factors contribute to this:
- The Competitive Element – The CS2 Workshop is crowded with thousands of creators, each competing to have their skins noticed. Seeing your design gain votes and climb the ranks can be a massive adrenaline rush, much like winning a match in CS2 itself.
- The Dream of Making Money – Many people get hooked on skin creation because of the potential for financial rewards. If Valve selects a skin for an official case, the creator receives a percentage of sales, which can range from a few thousand dollars to six-figure payouts.
- Artistic Expression – Unlike traditional gaming careers, creating CS2 skins allows designers to showcase their unique art styles, leading many to become invested in creating new and better designs.
- Instant Community Feedback – Workshop submissions receive real-time votes and comments, allowing artists to tweak their skins based on player preferences and increase their chances of selection.
What starts as a simple hobby can quickly turn into an obsession, with many skin designers spending hundreds of hours refining their craft. Some well-known skin creators even operate as full-time digital artists, collaborating with professional teams and gaming organizations.
However, the journey isn’t always easy. Many artists upload dozens of skins without ever getting selected for an official case. This can be discouraging, but it also pushes creators to refine their designs and come up with new techniques to stand out. The most successful skin designers treat the process as both an artistic challenge and a business opportunity—constantly evolving and adapting to what the CS2 community wants.
For those willing to invest the time, CS2 skin creation can be as exciting and rewarding as playing the game itself. Whether you’re designing for fun or hoping to break into the industry, the CS2 Workshop offers a unique opportunity to turn digital art into something both interactive and profitable.
Potential New Features in the CS2 Workshop
As Counter-Strike 2 evolves, Valve could introduce new features to the Workshop, such as:
- Expanded Texture Customization – Allowing for more advanced skin materials, like dynamic reflections or wear effects.
- 3D Skin Previews – Improving how skins are visualized before submission, making it easier to test different finishes.
- Custom Skin Animations – Adding minor animations or reactive elements for specific skins.
- Community Voting Enhancements – A revamped voting system that better highlights rising talent and unique designs.
With Valve continuously updating CS2, it wouldn’t be surprising to see major Workshop improvements shortly.
Creating a CS2 Workshop Skin is a rewarding process that allows you to showcase creativity and potentially make money if your design gets accepted. With patience and practice, you can develop high-quality skins that stand out in the CS2 Workshop.
Would you like a detailed tutorial on 3D rendering for CS2 skins? Let us know on our Contact Us page!
